Before we start
We’re all unique in this wonderful world, so our skin is different too. If yours is on the dry side you may want to use products that add moisture. If you’re never without sweaty palms, opt for products that degrease your skin.
Keep an eye on how different chalks affect your skin, you may find that certain ingredients are irritants.
The ultimate recipe for strong and healthy climber skin
You will need:
- Nail Clippers
- A skin file/fine sandpaper
- A non-waxy moisturiser (such as Climb On! Bar or Creme).
- Climbing tape (for troubleshooting)
Method (adjust according to requirements):
Before climbing:
- Cut your fingernails to avoid hangnails, split nails or that horrible screeching sound when you crimp.
- Wash your hands: residue grease and oil won’t do anything for your grip on that sloper, nor will it make you any friends.
- Moisturise (yes really!) at least 2 hours before your session – moisturised skin is flexible, elastic, and far less likely to split or break than rock hard skin.
During climbing:
- Listen to your skin – file any splits and tears as they arise and cut your session short if you sustain substantial damage.
- Watch your chalk usage – too much of any alcohol-based chalk (liquid chalk) can really dry out your skin, making it more susceptible to injury.
After climbing:
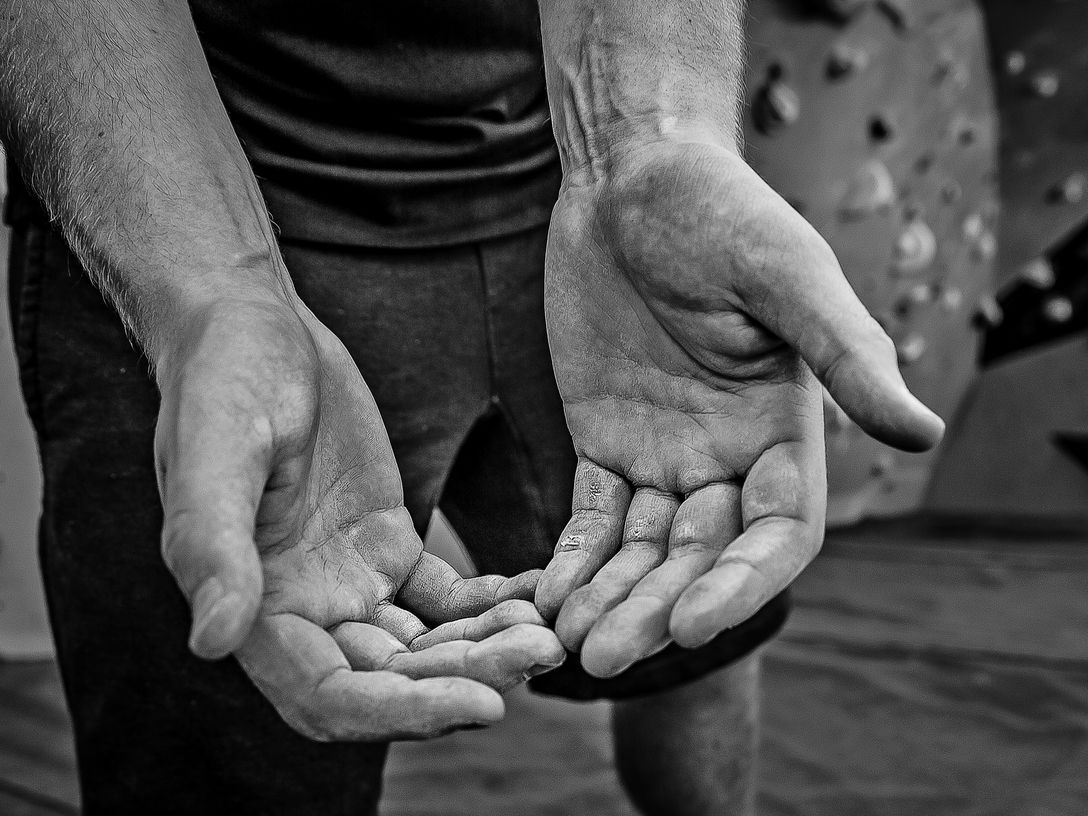
- File your calluses: what start out as blisters for beginners soon develop into strong and healthy calluses on your fingers and the tops of your palms. These should be flat and smooth; if they’re frayed or protrude from your skin, they’re more likely to rip or tear. File them down with sandpaper or a skin file.
- Wash your hands: it’s hygienic, feels good and preps your hands for the next step…
- Moisturise AGAIN (with that non-waxy hand salve we mentioned earlier) to nourish your skin and help it regenerate. Some people do this before bed.
How to treat skin injury
Sometimes, no matter how diligently you follow a recipe, for some reason things just don’t work out. Alas, here’s how you can make the best of a bad cake.
Split tips: If it’s a little split, dab with liquid bandage, tape it up and carry on. If it’s a big’un, it’ll only get bigger the more you use it. Rest if possible, but if you really must climb just swap the sharp crimps for some slabs and mantles.
Worn tips: this is when your fingertips get pink and shiny, they’ll probably emit a bit of fluid and holding a hot cuppa will feel like some form of torture. This happens when you climb so much that your fingers don’t have time to heal, a day off and some hand salve should see you right.
Flappers: oh dear! Stop the blood and clean it up (whatever you do, don’t leave blood all over the holds for other climbers). Now you have two options.
Option 1 (preferable): carefully cut off the flap of skin, clean again, then apply anti-septic and a plaster. This is the best option if you don’t plan to climb after, as the open wound will be sore.
Option 2: if not climbing is not an option, apply anti-septic and press the flapper back into place, then cover with a plaster and a layer of climbing tape to keep it in place. Be careful when climbing on this digit as it will be very sensitive!
Flappers can take a while to heal, be sensible kids!
COACH LED SESSIONS
Are you new to bouldering, or simply keen to take your game to the next level?
Your local Hangar offers coach led climbing sessions every week, so that you can get the help you need in a fun and friendly environment.
FIND A COACH LED SESSION

